
The Mistake Almost Every Buyer Makes
You walk into the garage, hit the wall button, and watch the door glide up and down once. It looks fine, it sounds fine, so you move on to the kitchen. This is the single most common mistake home buyers make, and it's an easy one to fall into: the door moving at all feels like proof it works, the walkthrough is already running long, and nobody wants to be the person poking around in a dusty garage while everyone else waits in the air-conditioned living room.
The problem is that one clean cycle tells you almost nothing. Springs can be days from failing and still lift a door smoothly. Tracks can be bent just enough to strain the opener without jumping off the rail yet. A general home inspector will usually note whether the door opens and closes, but garage doors are a specialized system with springs, cables, and safety features that fall outside most general inspection checklists. Here's what to actually look at before you sign.
Walk the Garage With This Checklist
1. Disconnect the opener and lift the door by hand
Pull the red release cord so the opener is no longer doing the work, then lift the door about halfway yourself. A properly balanced door will stay put on its own. If it falls, slams down, or shoots upward, the springs are no longer holding tension correctly.
What it means if it fails: The springs are worn out or improperly sized for the door's weight. This isn't a cosmetic issue, it's the main reason garage doors become dangerous to operate and it's also one of the more expensive repairs down the line.
2. Look closely at the springs themselves
With the door closed, look up at the horizontal springs above the door (torsion springs) or along the upper tracks (extension springs). Check for visible gaps between the coils, rust buildup, or a spring that looks stretched compared to its neighbor.
What it means if it fails: Florida's humidity accelerates rust on exposed metal hardware, even without coastal salt air. Heavy rust on springs is a sign of age and moisture exposure, and it shortens the remaining lifespan of the part significantly.
3. Test the auto-reverse safety feature
Close the door and place a 2x4 or a solid object flat on the ground where the door would land. The door should touch it and reverse immediately. Separately, check for small photo-eye sensors a few inches off the ground on each side of the track, make sure they're present, aligned, and not just zip-tied in place as a workaround.
What it means if it fails: This is a safety mechanism, not a convenience feature. If it doesn't work, the door needs adjustment or the sensors need replacing before anyone, especially kids or pets, uses that garage.
4. Check the bottom panel and weather seal
Crouch down and run your hand along the bottom panel and the rubber seal beneath it. Look for swelling, soft spots, rust streaks, or daylight showing through gaps.
What it means if it fails: The bottom panel takes the brunt of splashback from afternoon downpours and standing water during Florida's wetter months. Swelling or rot here means moisture has been sitting against the panel for a while, and it often means the seal has failed and water or pests have had an easy way in.
5. Inspect the tracks and mounting brackets
Look along the full length of both tracks for dents, bends, or spots where the track pulls away from the wall. Check the brackets holding the track in place for rust at the bolts.
What it means if it fails: A slightly bent track can still let the door operate, but it puts uneven strain on the rollers and opener, and it tends to get worse, not better, over time.
6. Check the lift cables near the bottom rollers
Look at the cables on either side of the door, especially where they wrap around the bottom roller bracket. Check for fraying, rust, or visible wear.
What it means if it fails: A frayed cable can snap under tension, and when one side lets go, the door drops unevenly. This is a safety issue, not just a maintenance note.
7. Find the wind-load rating label
Look for a manufacturer's label on the inside of the door, usually near the bottom corner, that lists a wind-load rating. Also check the back of the door for horizontal reinforcement struts.
What it means if it fails: Homes in this part of Florida deal with real hurricane-season wind loads. A door without adequate bracing or a documented wind rating is a bigger risk during storm season and may affect what your insurance expects from the home.
8. Check the opener's age and battery backup
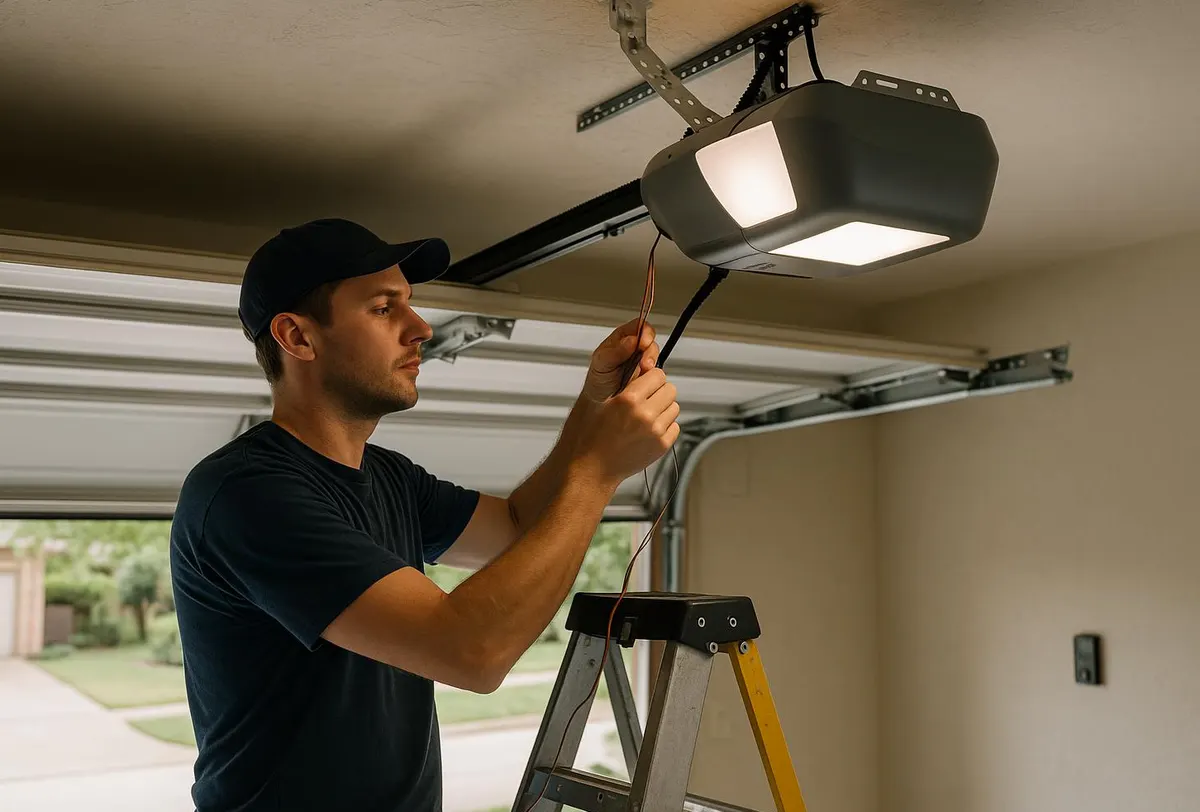
Look at the opener unit itself for a manufacture date or model sticker, and check whether it has a battery backup feature.
What it means if it fails: Older openers may lack modern safety reversal standards, and without battery backup, a power outage during a summer storm means you're opening and closing the door by hand until power returns.
When to Call Bushnell Garage Door Pro
If your walkthrough turns up worn springs, a door that won't hold its balance, or rust and swelling from months of humidity, it's worth getting a second opinion before closing, or shortly after move-in. We handle Garage Door Spring Repair for doors that are out of balance or showing coil damage, and our Garage Door Tune-Up & Maintenance service covers the rest of this checklist in one visit, lubricating hardware, tightening loose brackets, testing safety reversal, and flagging anything that's likely to fail soon in our heat and humidity.
If you're buying or already settled in Bushnell, Webster, Wildwood, Coleman, Center Hill, Lake Panasoffkee, Sumterville, or The Villages, give Bushnell Garage Door Pro a call for a straightforward inspection before the garage door becomes a surprise repair bill.